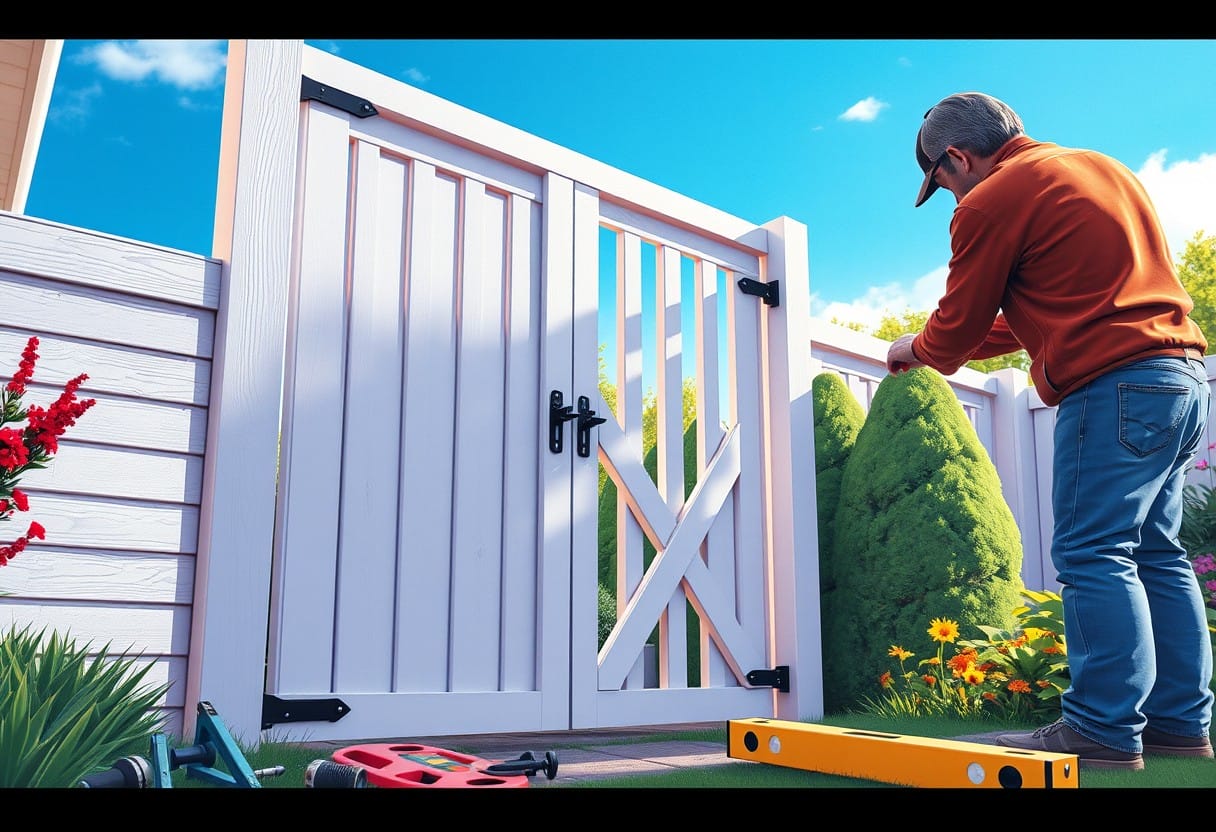
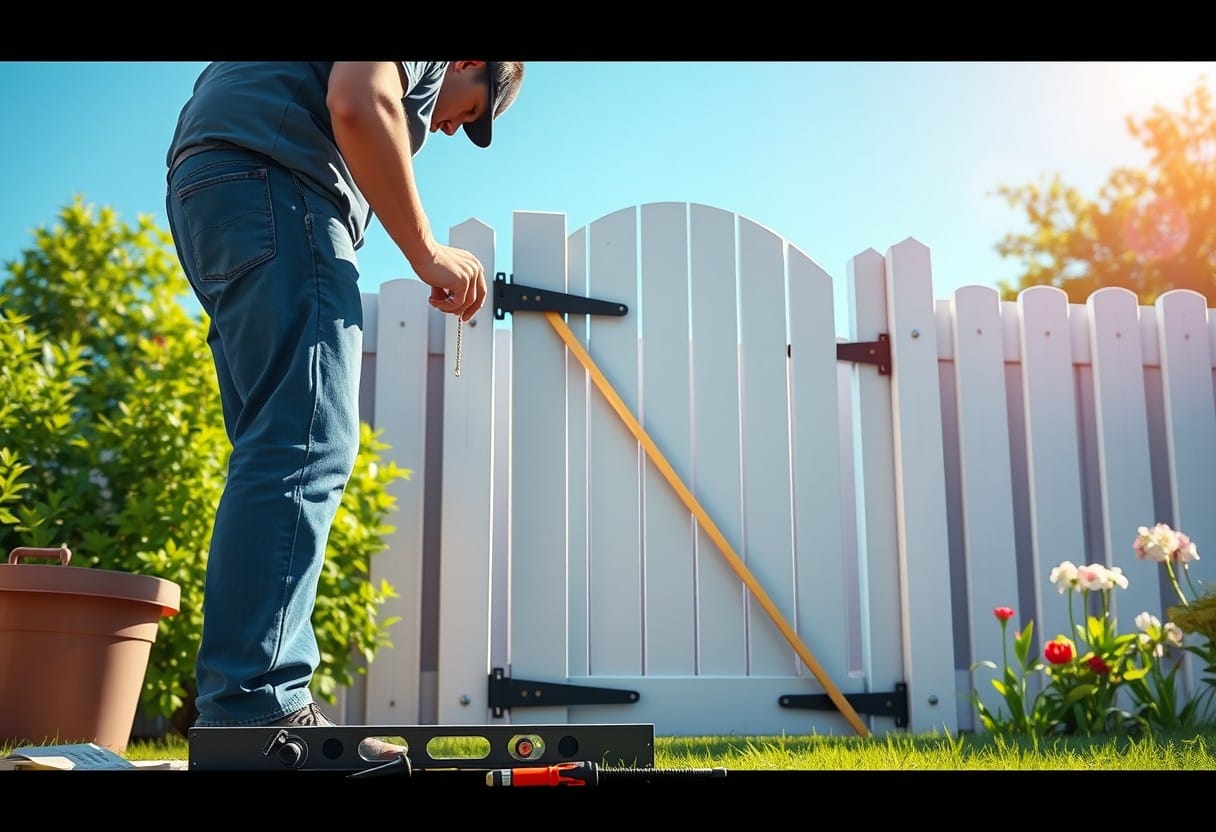
Repairing a sagging vinyl gate is crucial for maintaining the aesthetics and functionality of your property. Over time, weight, weather, and improper installation can cause your gate to sag, making it difficult to open and close. In this guide, you will learn practical steps to identify the cause of the sagging and fix a sagging vinyl gate to its intended position. With the right tools and techniques, you can ensure your gate operates smoothly while enhancing your outdoor space’s overall appeal.

Key Takeaways:
- Assess the Problem: Determine the cause of the sagging by checking the gate’s hinges, post stability, and overall alignment.
- Reinforce the Structure: Install additional support such as a tension wire or braces to provide extra strength and prevent future sagging.
- Adjust Hinges and Posts: Make necessary adjustments to the gate’s hinges and ensure that the gate is properly aligned with the posts for a secure fit.
Understanding Vinyl Gates
A vinyl gate offers durability and low maintenance, making it a popular choice for homeowners. Unlike wood or metal, vinyl is resistant to rust, rot, and fading, ensuring that your gate looks great for years to come. However, even the best vinyl gates can experience problems, such as sagging, which can affect both functionality and aesthetics. Understanding the common causes and proper installation methods is imperative for maintaining the integrity of your vinyl gate.
Common Causes of Sagging
Vinyl gates can sag for several reasons, including improper installation, inadequate support structures, and environmental factors such as shifting soil or extreme weather conditions. Over time, these elements can lead to the gate becoming misaligned and needing adjustment. Being aware of these issues can help you take preventative measures and address sagging before it becomes a bigger problem.
Importance of Proper Installation
An imperative aspect of ensuring your vinyl gate remains functional and visually appealing is proper installation. If your gate isn’t installed correctly, it can lead to various problems, including sagging and misalignment. Ensuring that the gate is level and securely anchored will provide necessary support and prevent unnecessary strain on the hinges and brackets.
Installation of your vinyl gate should be done carefully to ensure long-lasting performance. Begin by selecting a level location, and use concrete footings for added support. Properly aligning the hinges and using high-quality hardware will significantly reduce the risk of sagging. Taking the time to install your gate correctly will pay off in the long run, as it will maintain its shape and function effectively for years to come.
Tools and Materials Needed
Clearly, to effectively fix a sagging vinyl gate, you’ll need specific tools and materials to ensure the job is straightforward and successful. Having everything organized beforehand will save you time and make your repairs easier.
Essential Tools
On your tools list, prepare to gather vital items such as a level, a wrench, screws, and a power drill. These will aid in adjusting the gate’s hinges and making necessary alignments.
Recommended Materials
An important part of your repair process will be selecting the right materials to reinforce the gate’s structure. Consider acquiring items like gate brackets, a gate support post, and vinyl adhesive for a secure and durable fix.
Tools like gate brackets and a support post are vital for providing additional strength and stability to your sagging vinyl gate. If your gate has been sagging for some time, you may also want to use vinyl adhesive to bond any loose connections. These materials work together to address the sagging issue and help restore your gate’s functionality and appearance.
Step-by-Step Repair Process
Unlike many home repair tasks, fixing a sagging vinyl gate can be straightforward if you follow a systematic approach. Below is a step-by-step guide that you can use to address this issue effectively.
Repair Steps
| Assessing the Gate and Hinges | An initial evaluation of your gate and its hinges is vital. Check for any visible wear and tear on the hinges and ensure that they are tightly secured. Pay attention to any signs of corrosion or damage, as these factors can contribute to the sagging issue. |
| Adjusting the Gate Height | Any necessary adjustments to the height of your gate can help eliminate sag. Loosening the hinge screws on the top hinge allows you to raise the gate, while tightening the screws after adjustment holds it in place. |
| Reinforcing the Structure | Height adjustments may not be enough. You might need to reinforce the frame of your gate with additional materials, ensuring it can withstand the weight without sagging over time. |
| Installing Gate Braces | Gate braces can provide additional support. You can install diagonal braces from the top corner at the hinge side to the bottom corner on the latch side, which will help alleviate stresses that lead to sagging. |
| Final Adjustments and Testing | Assessing the final adjustments is crucial. Close and open your gate several times to ensure it’s functioning properly and check for any lingering issues that need addressing. |
Assessing the Gate and Hinges
An initial evaluation of your gate and its hinges is vital. Check for any visible wear and tear on the hinges and ensure that they are tightly secured. Pay attention to any signs of corrosion or damage, as these factors can contribute to the sagging issue.
Adjusting the Gate Height
Any necessary adjustments to the height of your gate can help eliminate sag. Loosening the hinge screws on the top hinge allows you to raise the gate, while tightening the screws after adjustment holds it in place.
Gate adjustments can be simple yet effective. You’ll want to ensure that the gap between the ground and the bottom of the gate is uniform on both sides. If you find one side lower than the other, make small adjustments until it sits evenly. This will greatly improve the overall functionality and aesthetic of your gate.
Reinforcing the Structure
Height adjustments may not be enough. You might need to reinforce the frame of your gate with additional materials, ensuring it can withstand the weight without sagging over time.
Adjusting your gate structure can be done using wooden or metal supports. Adding corner brackets can strengthen the structure, while horizontal supports help maintain the gate’s form. This structural reinforcement prevents future sagging and extends the lifespan of your gate.
Installing Gate Braces
Gate braces can provide additional support. You can install diagonal braces from the top corner at the hinge side to the bottom corner on the latch side, which will help alleviate stresses that lead to sagging.
This diagonal brace method forms an ‘X’, increasing the stability of your gate significantly. By redistributing the weight and stress, the braces will prevent any movement that could cause sagging, thus maintaining a more upright position for your gate.
Final Adjustments and Testing
Assessing the final adjustments is crucial. Close and open your gate several times to ensure it’s functioning properly and check for any lingering issues that need addressing.
To ensure that your gate operates smoothly, take the time to open and close it multiple times post-repair. Listen for any unusual sounds and check if it aligns correctly with the latch. If adjustments are needed, revisit the prior steps until your gate functions perfectly. This thorough testing ensures that you’ve successfully resolved the sagging issue.

Maintenance Tips for Longevity
To ensure your vinyl gate remains in optimal condition, implementing regular maintenance practices is imperative. Here are some key tips for prolonging its lifespan:
- Conduct regular inspections for signs of wear or damage.
- Clean your gate periodically to prevent dirt buildup.
- Make seasonal adjustments as needed based on weather conditions.
- Lubricate hinges and latches to ensure smooth operation.
- Address issues promptly to avoid more significant problems down the line.
Perceiving these maintenance tasks as integral to your gate’s longevity will save you time and money in the long run.
Regular Inspections
One of the most important aspects of vinyl gate maintenance is conducting regular inspections. You should examine your gate at least twice a year, checking for signs of sagging, wear, or damage. Keeping an eye on the hardware, such as hinges and latches, ensures you can address any problems before they escalate.
Cleaning and Care
Cleaning your gate is a straightforward but vital task. You should use mild soap and water to remove dirt and grime, ensuring that your gate looks its best and retains its integrity over time.
Regular cleaning not only enhances the appearance of your vinyl gate but also prevents the growth of mold and mildew. Make it a habit to wash your gate a few times a year, particularly if it is exposed to the elements. Utilizing a soft brush can help you reach any crevices and maintain a pristine surface.
Seasonal Adjustments
With the changing seasons, you should consider making adjustments to your vinyl gate. Temperature fluctuations can affect your gate’s structure, and it may need some fine-tuning, particularly after harsh weather.
Care for your gate by ensuring it remains properly aligned during different seasons. This might involve adjusting the hinges or checking the posts to keep everything secure. By being proactive about seasonal changes, you can avoid sagging or misalignment that could occur if left unchecked.
Final Words
To wrap up, fixing a sagging vinyl gate involves a few straightforward steps to restore its proper alignment and functionality. Start by assessing the hinges, tightening any loose screws, and ensuring that they are the correct size for your gate. Consider adding a tension wire or diagonal brace for additional support. If necessary, you might need to adjust your gate posts or even replace them if they are rotted or unstable. With these measures, you can ensure your vinyl gate is secure and operates smoothly for years to come.


Leave a Reply